
Been toying with the idea of getting a coin pouch that I can easily see what coins I have inside. Normally I have to dig through the pouch, or dump it all out on my palms, or pour it out onto the cashier counter to see if I have the right amount of coins to pay.
While searching for something suitable, I saw this tutorial on making a leather pirate coin bag (https://www.cutoutandkeep.net/projects/pirate-coin-bag). I thought it would work well since it can open up wide enough for me to see all my coins very easily.
I had some leather remnants left from an old project so I thought I’d give it a try. Looked simple enough, no sewing, no glue, and just one piece of leather. 🙂
*Note: I don’t really remember the type of leather I have as I bought it many many years ago on ebay and my ebay purchase history is gone already (I think they wipe it after 3 years?). All I remember is it’s lambskin and based on my own measurements about 1mm thick. I think any soft leather / faux leather will work for this.
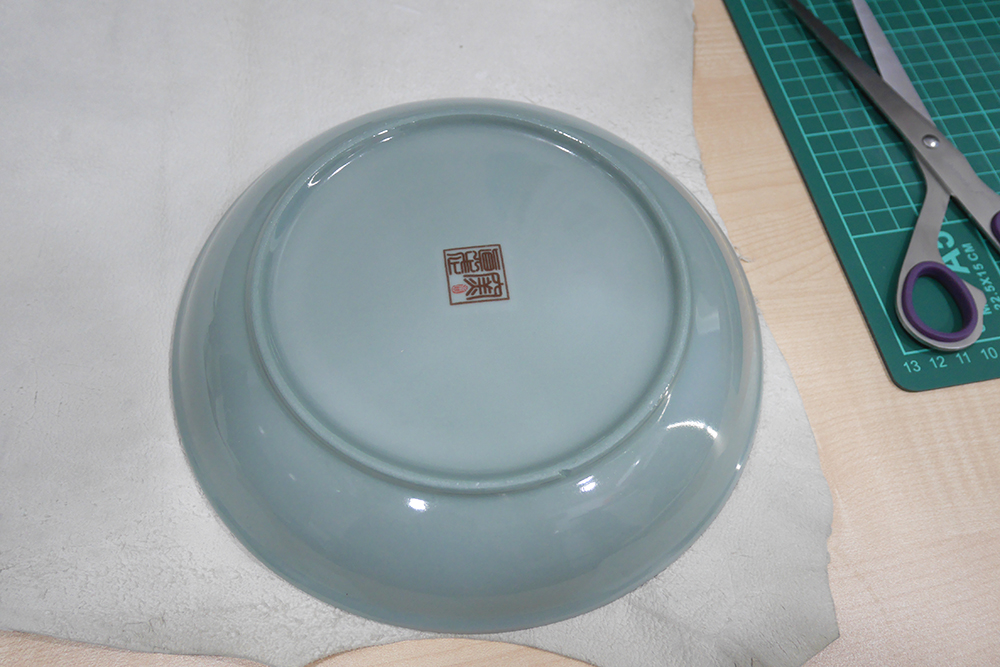
The tutorial doesn’t state the size of the circle, only that she used a vinyl as a template to cut out the circle. I checked online and a vinyl is around 10″ or so in diameter. I ended up using a plate I have that’s 8″ in diameter.
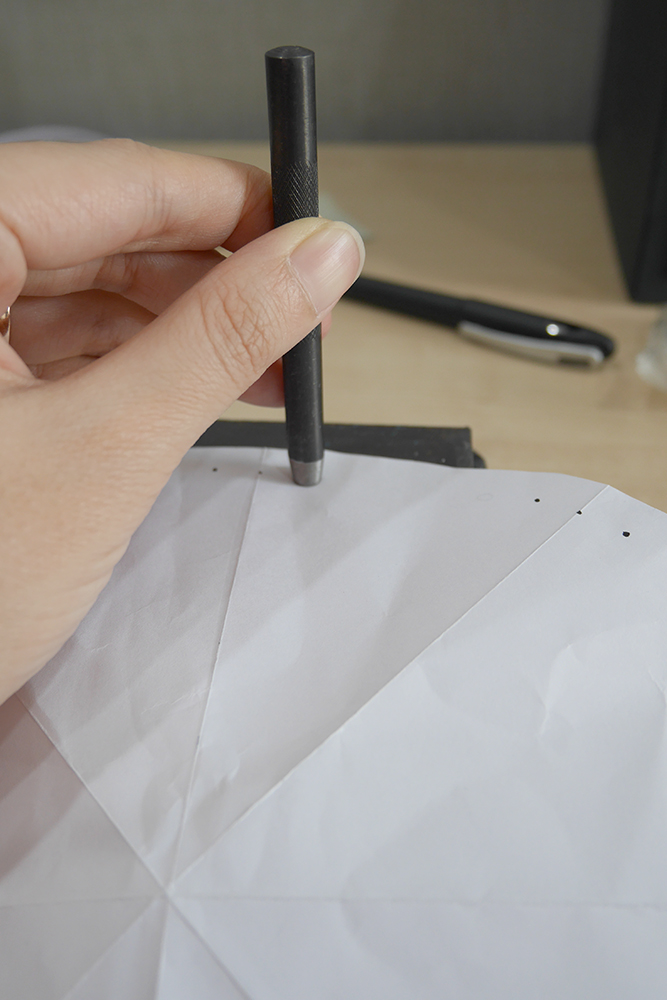
I made a simple template using A4 paper to figure out where the holes should be. I measured it 1cm down from the edge and the holes are 2cm apart from each other. I then secured it to the leather before punching out the holes.

I punched out the holes using a 5mm leather puncher I bought from Daiso. I think using a hole puncher for belts is faster (the one that looks like this), but I’m not sure if they have a 5mm size one. I basically picked this size based on my leather string. So if you have a thinner string/cord you won’t need such a big hole puncher.
After punching all the holes, I threaded the leather cord/string through.

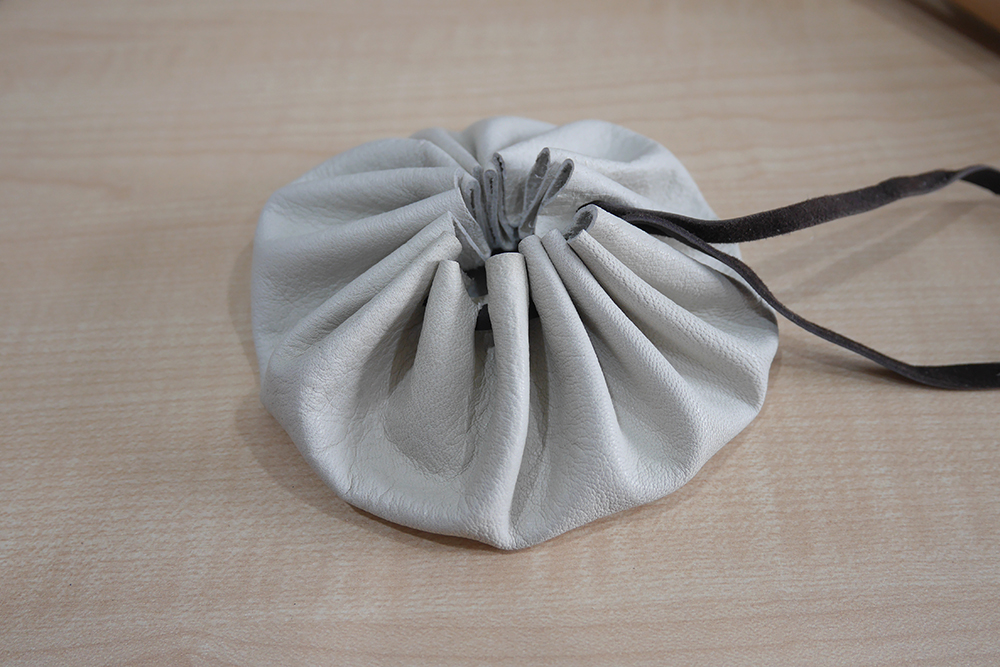
The end result from following the tutorial:


I wasn’t very happy with the folds being so big on a small bag, so I ended up adding more holes in between which made the folds smaller and neater.

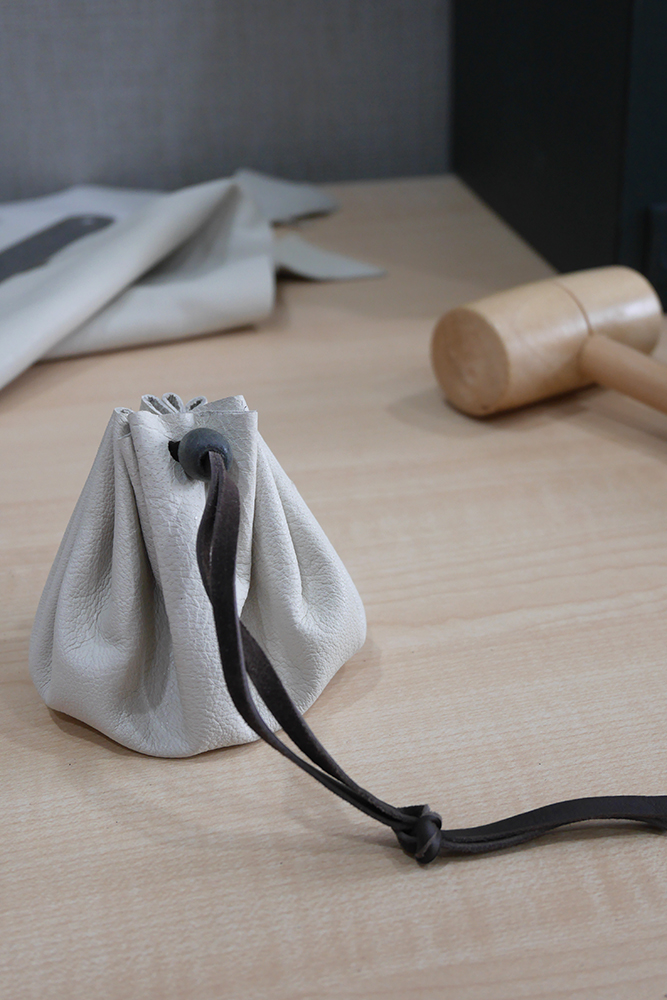
The final final result:
Much happier with how this looks and closes. I added a bead that I recycled from an old blouse to secure the drawstring, and made a knot after deciding how wide I want my bag to open.


Here’s a free template I made if you need one:
I noticed most tutorials just wing it and it works fine as well but having a template helped me to get the holes spaced out evenly. 🙂 In the template, the white circles are the original holes based on the tutorial I followed, the grey circles are what I added on after that. So depending on the material and look you are going for, you can punch out the white circles first then see if you want to add on the additional holes.


Great blog right here! Also your site lots up fast!
What web host are you the use of? Can I am getting your affiliate
link in your host? I desire my site loaded up as quickly as yours lol
Hey Shonda! My web host is Shinjiru.com.my. No referral link. 🙂
Very good post, keep up the good work. Thanks!